


One of the questions/comments I get about styling details is always around how do you organize details on wedding day. Your client gives you this huge box of “stuff,” and now you’re supposed to know instantly what to do with it. I’m here to give you a simple organization tool to help with that!
A few things to always remember –
Think about your couple, and how they want to remember their story.
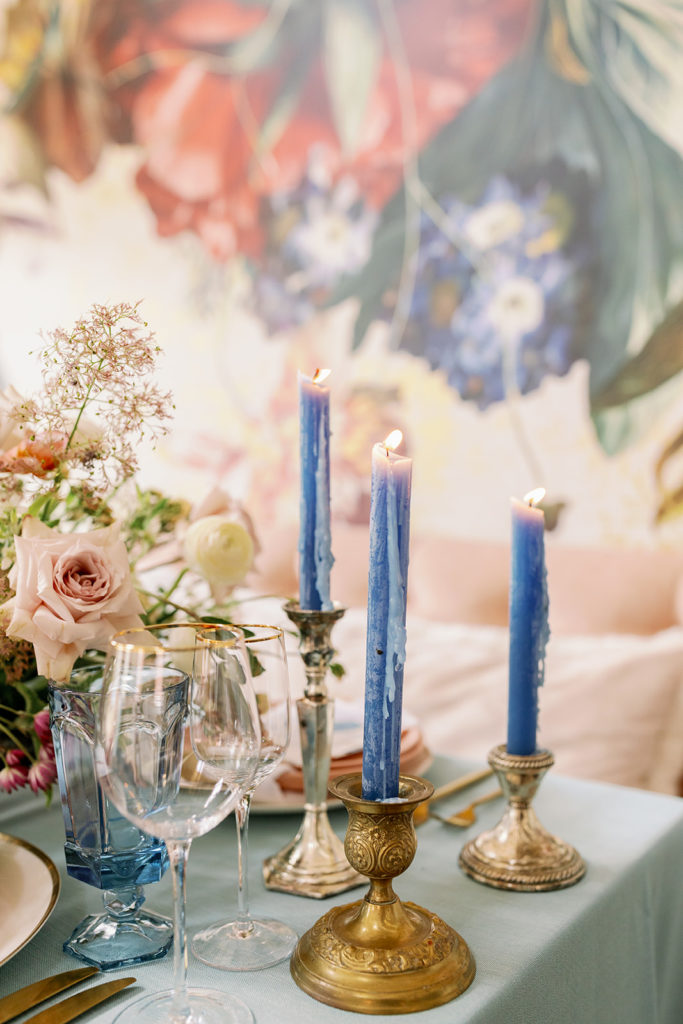
It seems simple, but hopefully you’ve spent a little bit of time getting to know your couple, their story, how they envision their wedding day looking/feeling. Because you have this knowledge, you will be able to guide these images. Is your couple a travel/adventure obsessed pair, getting married in a downtown, industrial venue with a modern, clean vibe? Then you’ll want your detail shots to reflect that – clean lines, symmetry, modern shapes and composition. Is your couple obsessed with each other and having the most stunning garden-inspired wedding at an outdoor venue just outside of town? Then you’ll want your detail shots to reflect that – incorporating florals from their design, timeless styling, and lots of feminine touches. Don’t overthink this part. Let their vibe inspire your styling before you touch a single thing!
Everything does NOT have to go in one image.
So often I see photographers and creatives styling SO many items in one photo (I am previously guilty of this too!). Guess what? You don’t have to do that! I don’t subscribe to the idea that you start with everything in one photo, and then take them away. No way! The way I typically organize details is as follows, and this is the average amount of photos from each section I deliver:
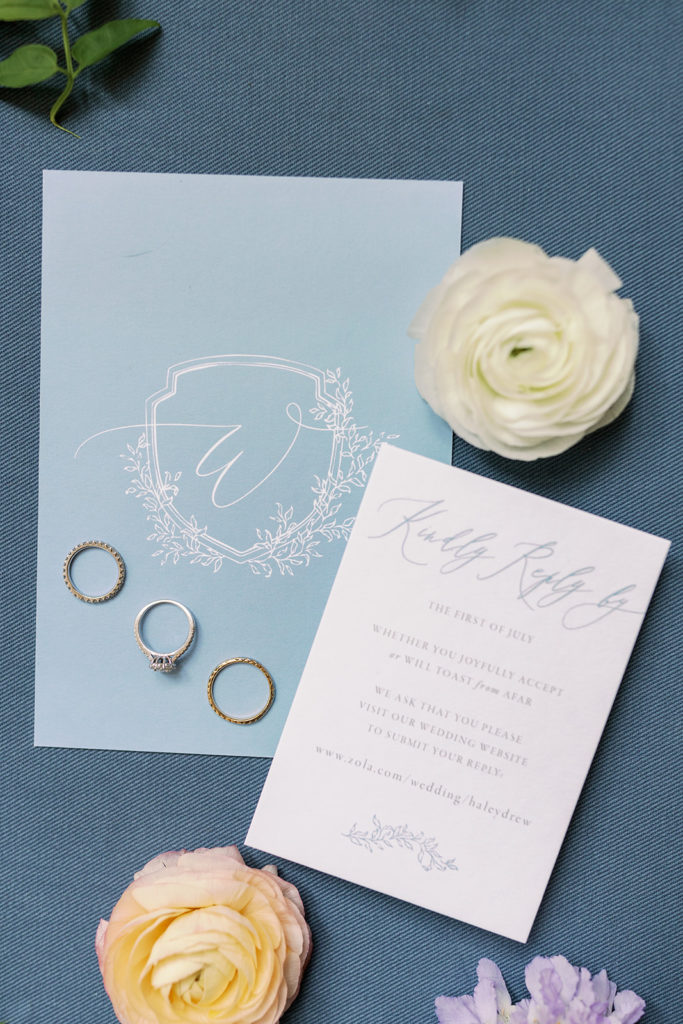
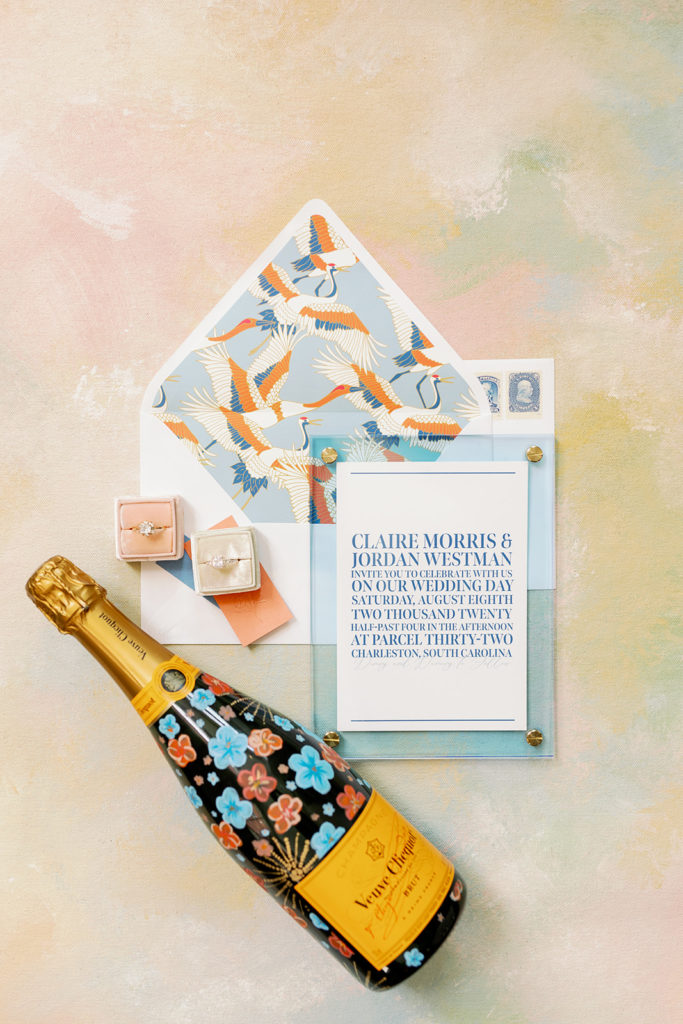
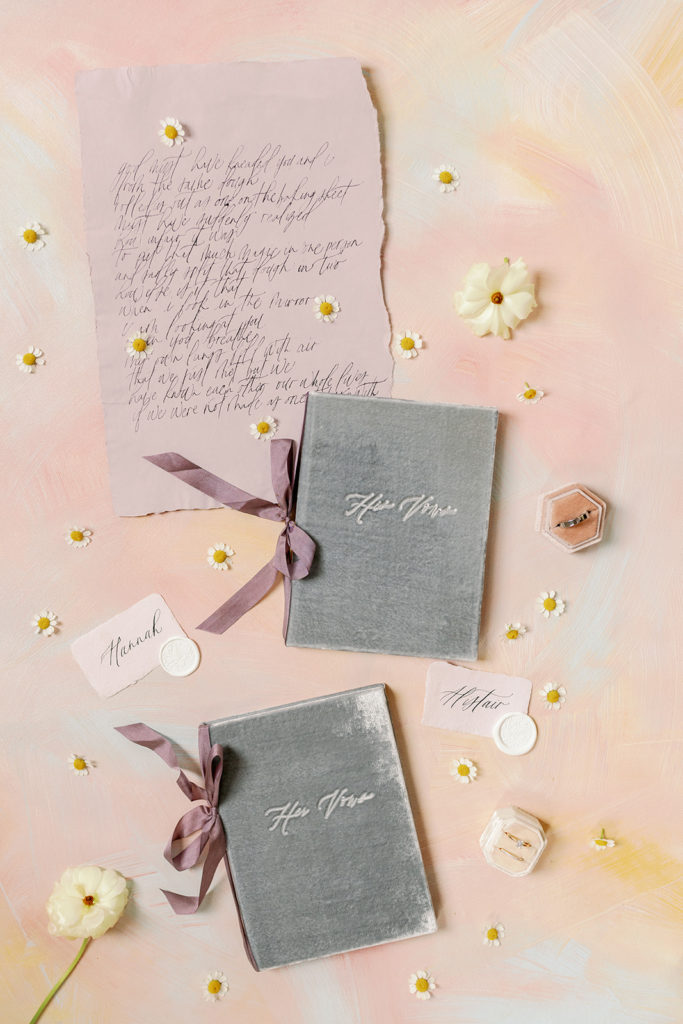
- Full invitation suite (envelopes included) (2-3)
- Main Invitation and envelope setup (1-2)
- Reception Paper Goods (1-2)
- Ceremony Paper Goods (1-2)
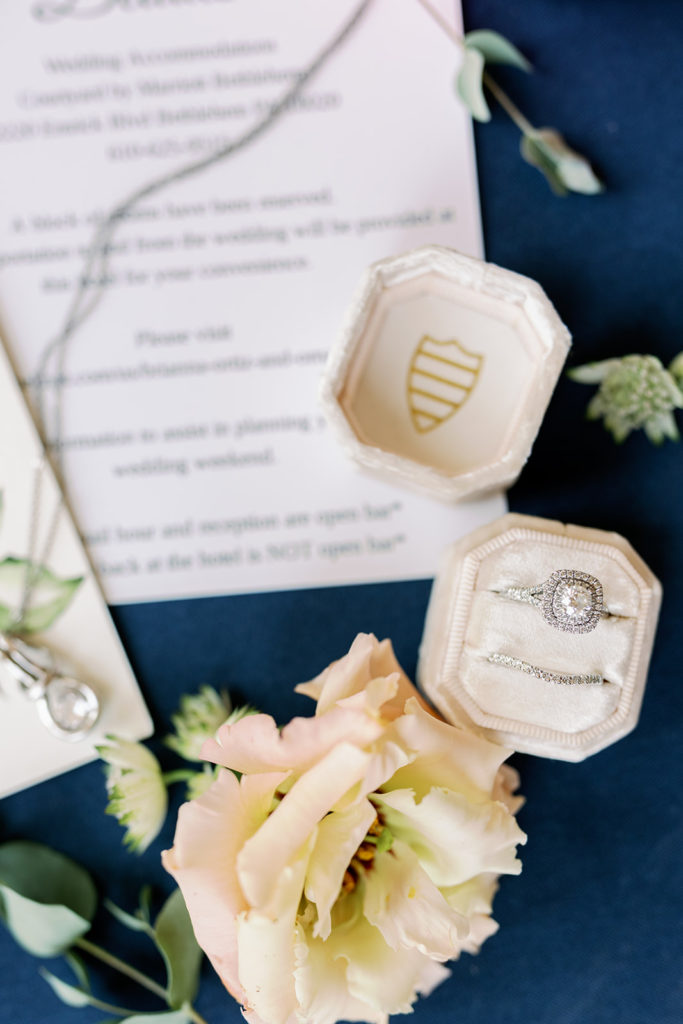
- Ring shots (2-3)
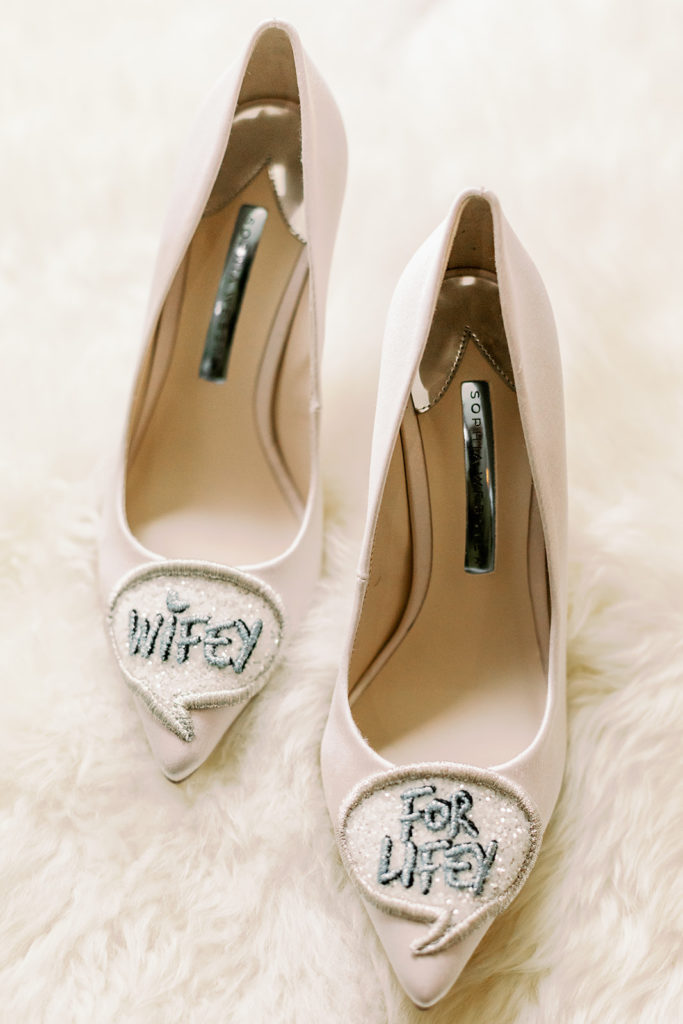
- Jewelry + Shoes (2-3)
- Shoes only (2)
- Jewelry only (1-2)
- Any extras/heirlooms (handkerchiefs, something borrowed, garter, etc.) (2-3)
And guess what? Although my clients give me one hour for details at the beginning of the timeline, I’m typically done with those in about 30-40 minutes. The rest of my time I use for fun dress shots and more candids. Trust me, it can be done!
You don’t need ribbons, trays, and all the other pizzaz.
Guess what? There are really only five things that I consider MUST HAVE’S in my styling kit these days. Again, I have totally been the victim of believing that I MUST HAVE all the trays, scissors, ribbons, etc. I’m here to tell you, take that stress off of your plate – seriously! Most of the trinkets that photographers are worried about bringing on wedding day are not helping with the storytelling nor are they creating a timeless image – promise.
Here’s the five things that I absolutely MUST have in order to create gorgeous photos (and an optional 6!)
- Acrylic styling risers -This creates dimensions and visual interest for your flat lay!
- Ring boxes -I keep neutral Mrs. Boxes in my kit just in case clients forget. I can also use the tops as risers if needed!
- Dental wax/tacky – This keeps ring shots clean and dreamy!
- Styling mat – One thing I am super critical of is having a consistent, clean backdrop that is not the floor, nor a piece of clothing (dress, etc.). Having styling backdrops in every color makes it so easy to show up and get to work – after you find the best light source, of course. Finding out from your couple their wedding colors and wedding party attire prior to the wedding day will help you choose the right color backdrop to bring with you.
- Florist Information- I always reach out to the florist 3-5 days before the wedding and ask them for spare florals – if I feel like I’ll need florals to style their details. Guess what? Every wedding doesn’t need to have florals to create gorgeous images. Sometimes the florals aren’t a key component of the design, or to be honest, sometimes the florals are not the strong point of the wedding – cheaper blooms are chosen, and they end up being more distracting than helpful to the storytelling.
OPTIONAL: Vintage Stamps – The only “styling tool” I still want to ensure I have with me is vintage stamps, because oftentimes clients will bring a blank envelope for their invitations, versus one that is “filled out” or stylized. If I have my vintage stamps to refer to, then I can bring in a pop of something fun, if needed.
This should totally take some pressure off of you when thinking about styling details. Most of the times, the anxiety kicks in from thinking that every single time you have to create this out-of-this-world details shot, when in actuality, the best thing that you can do is remember who your couple is, what their wedding represents and how you can best showcase that as you create a consistent story of their wedding day!
Make sure to sign up with your e-mail here to receive our FREE Details Organization Guide so you can stop freezing up, and create an easy system for yourself to quickly jump into styling details on the wedding day!

